We blogged a little while back about the Snoopy demonstration given at 44Con London. A similar talk was given at ZaCon in South Africa. Whilst we’ve been promising a release for a while now, we wanted to make sure all the components were functioning as expected and easy to use. After an army of hundreds had tested it (ok, just a few), you may now obtain a copy of Snoopy from here. Below are some instructions on getting it running (check out the README file from the installer for additional info).
Remind me what Snoopy is?
Snoopy is a distributed tracking, data interception, and profiling framework.
Requirements
-Ubuntu 12.04 LTS 32bit online server
-One or more Linux based client devices with internet connectivity and a WiFi device supporting injection drivers. We’d recommend the Nokia N900.
-A copy of Maltego Radium
Installation
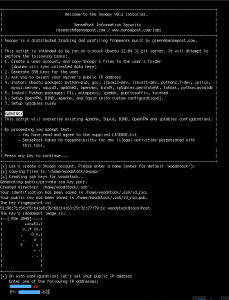
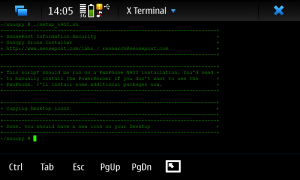
After obtaining a copy from github run the install.sh script. You will be prompted to enter a username to use for Snoopy (default is ‘woodstock’) and to supply your public IP address. This is depicted below:
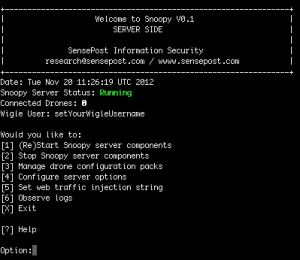
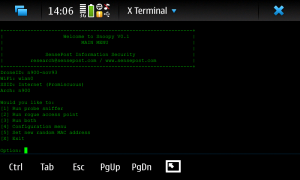
This installation will take around 3-5 minutes. At the end of the installation you will be presented with a randomly generated password for the web interface login. Remember it. You may now run the server component with the command snoopy, and you will be presented with the server main menu, as depicted below.
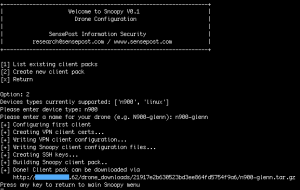
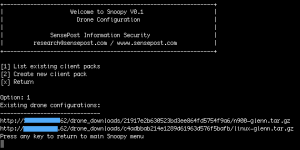
Selecting the ‘Manage drone configuration packs’ menu option will allow you to create custom installation packs for all of your drone devices. You will be presented with download links for these packs, such that you can download the software to your drones.
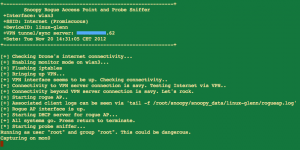
From your drone device download and extract the file from given link. Run setup_linux.sh or setup_n900.sh depending on your drone.
All collected probe data gets uploaded to the Snoopy server every 30 seconds. All associated clients have their internet routed through the server over OpenVPN. If you so desire, you can explore the MySQL database ‘snoopy’ to see this raw data. Graphical data exploration is more fun though.
Using Maltego
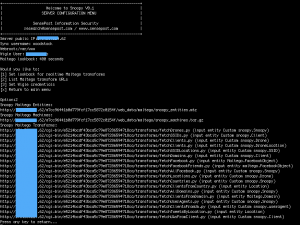
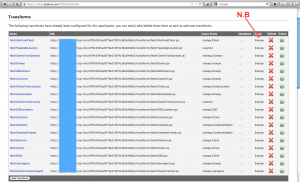
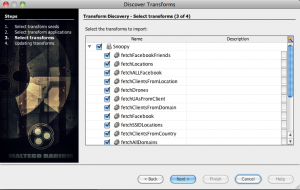
In the Snoopy server menu select ‘Configure server options’ > ‘List Maltego transform URLs’. This will give URLs to download Maltego Snoopy entities and machines, as well as a list of TDS transform URLs. You will need to download and add the entities and machines to your local Maltego installation, and add the transform URLs to your Maltego TDS account (https://cetas.paterva.com/tds). This is depicted below.
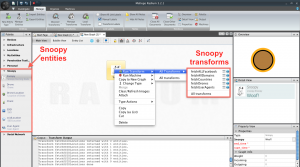
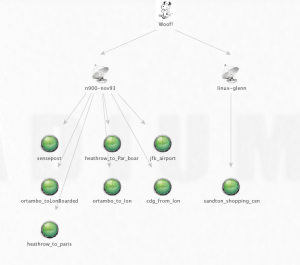
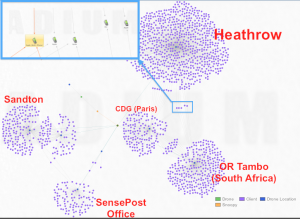
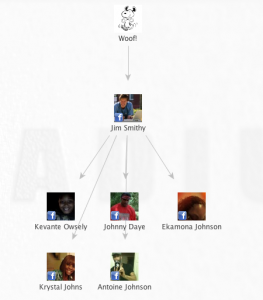
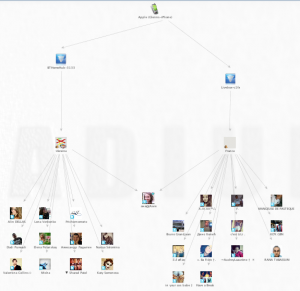
We can explore data my dragging the ‘Snoopy’ entity onto the canvas. This entity has two useful properties – ‘start_time’ and ‘end_time’. If these are left blank Snoopy will run in ‘real time’ mode – that is to say displaying data from the last 5 minutes (variable can be set in server configuration menu). This time value will be ‘inherited’ by entities created from this point. The transforms should be obvious to explore, but below are some examples (further examples were in the original blog post).
I shall write a separate blog post detailing all the transforms. For now, enjoy playing around.
Web Interface
You can access the web interface via http://yoursnoopyserver:5000/. You can write your own data exploration plugins. Check the Appendix of the README file for more info on that.


