I was recently on a mobile assessment where you could only register one profile on the app, per device. To use another account you had to first deactivate the profile and then register a new one. I wasn’t sure whether that would invalidate the original token especially since my goal was to test authorisation issues against the backend. Sure, I could have tested whether the token was invalidated or not, which later I found out it wasn’t. But there were other restrictions within this environment which made me look for a different approach.
Android Multi-user Support
I remembered something I came across a while back on Android devices. You could create multiple user accounts (documented here: https://source.android.com/devices/tech/admin/multi-user), which made me wonder if this was something that could help me. If I were to create a second account and install the application there, could I register a completely different profile on the same device? Would both profiles be active at the same time?
Working with Multiple Users
Using the Android Debug Bridge (adb), below are the various commands I used to create new accounts and install an application for a specific account.
To create a new user account, run:
adb shell pm create-user [username]This will create a new user with the provided username and return the id for that specific user. You can remove the user from the device with:
adb shell pm remove-user [user id]If when creating new accounts you end up getting an error, check that you haven’t reached the maximum user limit. This can be done with:
adb shell pm get-max-usersIf the maximum users is set to 1, you could have a look at your root helper program like SuperSU or Magisk Manager to enable multi-user support. Alternatively, just set the number of users you want in a root adb shell with:
adb shell
a40:/ $ su
a40:/ # setprop fw.max_users 8
a40:/ # setprop fw.show_multiuserui 1
a40:/ # pm get-max-users
Maximum supported users: 8
After creating users, you can list them on the mobile device with:
adb shell pm list usersThis should return something along the lines of:
Users:
	UserInfo{0:SensePost:13} running
	UserInfo{10:Guest:14}
	UserInfo{11:Joe:10} running
Within the curly braces, the number before the username is the id of that particular user. This is the value you should use for actions such as removing the user or installing an application for that particular user.
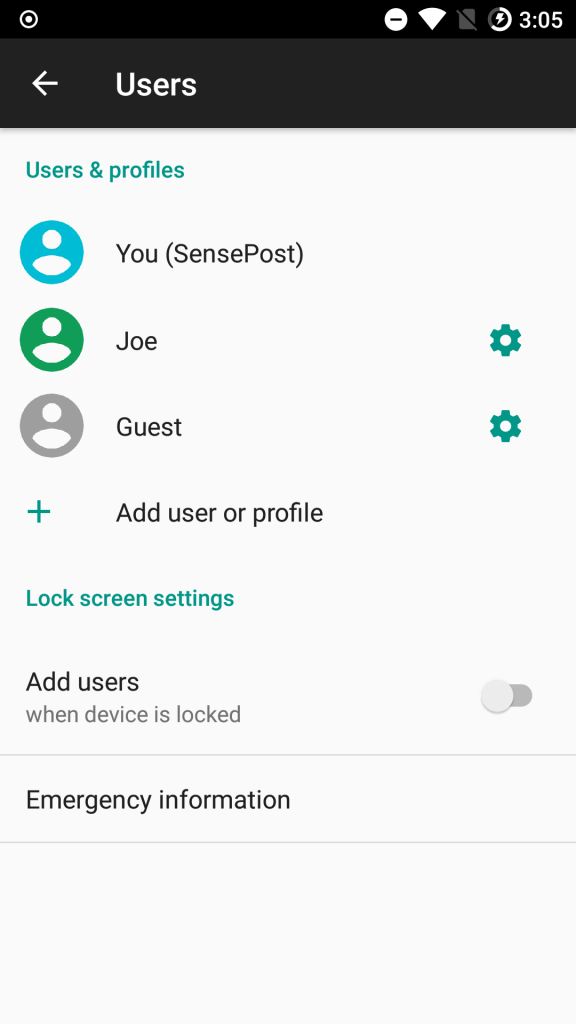
You can also view the users on an Android device by going to Settings and then searching “users”. You should get a result for a users section where you can see a listing of current users as well as options to create/delete new users.

Installing Applications for a Specific User
Installing an application for a specific user can be done with:
adb install --user [user id] [path to your app.objection.apk]If you wanted to install the application for all users you can use all instead of the specific user id.
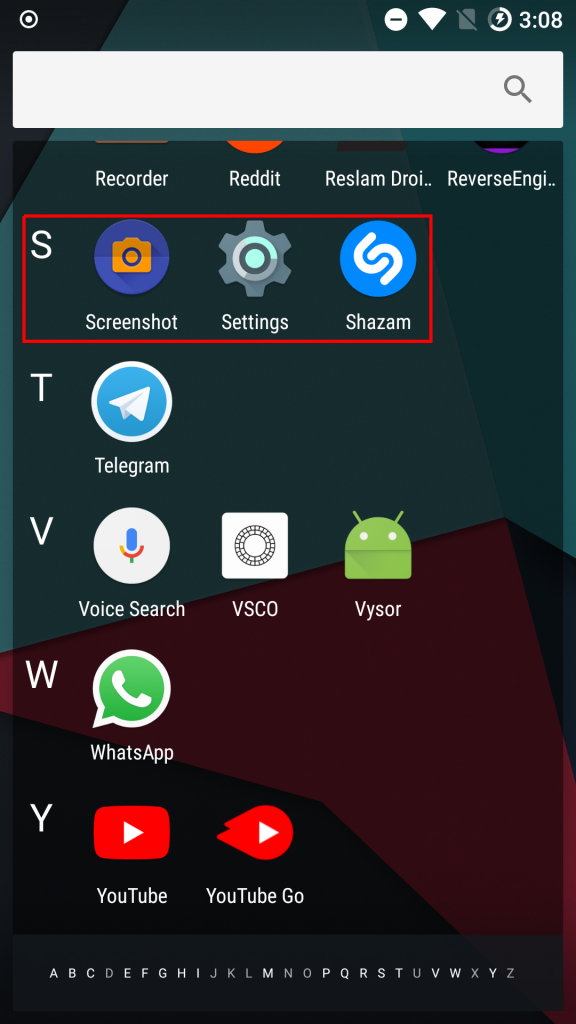
And *bam*, thats how you can make it as if you got more than one phone with you. However, you probably noticed that the app doesn’t show up anywhere on the phone. You will need to change to that user first before you can see it and launch the application.
For the purpose of a small demo. Using adb, I installed the application “Steers”, because I like hamburgers, as the user Joe.


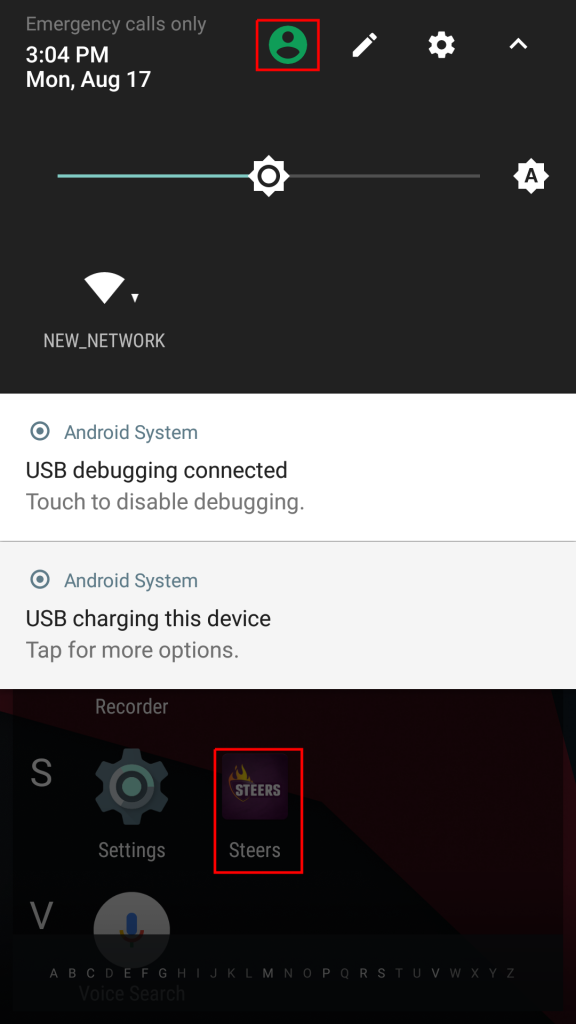
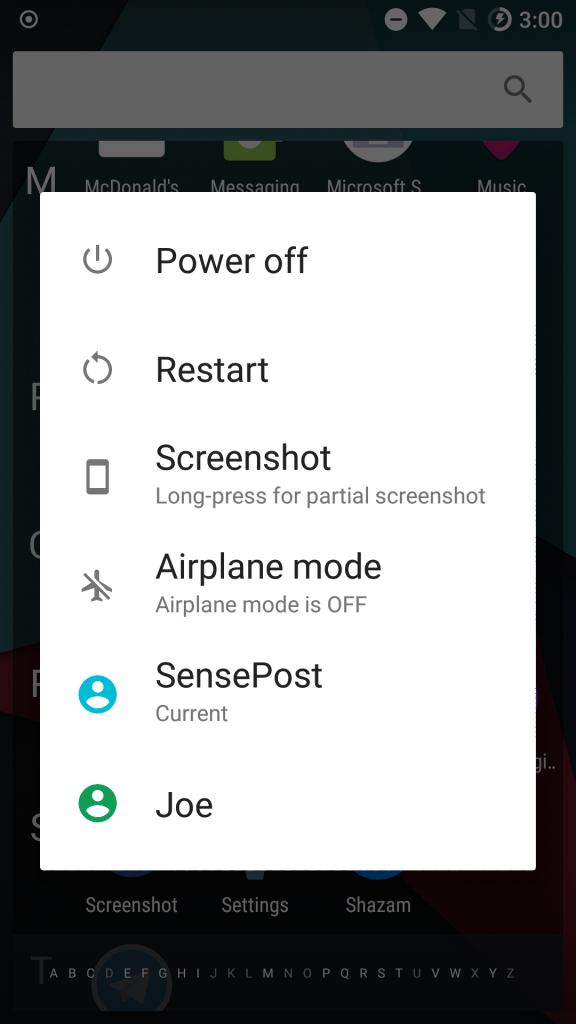
Changing to another user can be done through different ways. One way is to hold down the power button and then selecting the appropriate user. Alternatively, pulling down on the notification bar, you should see an icon of a person. Pressing the icon should show you an option to change the user.

This approach helped me a lot in the end. I was able to install the application under the second account and register a different user. With two active accounts, I could now test for authorisation issues against the backend, with only a single physical device.
Lastly, another helpful command to dump user information is the following:
adb shell dumpsys userThis essentially dumps detailed information for each user configured on my device. Here is a snippet of the info dumped:
  UserInfo{11:New user:10} serialNo=11
    State: RUNNING_UNLOCKED
    Created: +14d11h31m44s457ms ago
    Last logged in: +14d11h31m37s238ms ago
    Last logged in fingerprint: xiaomi/daisy/daisy_sprout:9/PKQ1.180917.001/V10.0.18.0.PDLMIXM:user/release-keys
    Start time: +14d11h31m45s441ms ago
    Unlock time: +14d11h31m43s803ms ago
    Has profile owner: false
    Restrictions:
      no_sms
      no_outgoing_calls
    Device policy global restrictions:
      null
    Device policy local restrictions:
      null
    Effective restrictions:
      no_sms
      no_outgoing_calls

  Device owner id:-10000

  Guest restrictions:
    no_sms
    no_install_unknown_sources
    no_config_wifi
    no_outgoing_calls

  Device managed: false
  Started users state: {0=3, 11=3}

  Max users: 4
  Supports switchable users: true
  All guests ephemeral: false
On the topic of adb but unrelated to users, you can take screenshots and have them saved directly to your host. No longer do you need to perform some arb gestures and then move it to your host via Bluetooth, mail, WhatsApp, RFC1149, etc. This can be done with the following command:
adb exec-out screencap -p > filename.png Frida Multi-user Support
With the recent release of Frida version 12.11, support to work with applications installed in other user profiles has also been added. This means you could spawn and attach to applications as a specific user using the --aux="uid=(int)10" flag to the frida command. For example: frida -U --aux="uid=(int)11" -f za.co.mobile.app. You will need Android 9 and up for this to work though.
